This week, we continued customizing our personal websites and added a lot of much needed features. One of my concerns when I first started up my website was the notice that kept saying “Not secure” whenever I entered my site. After watching Professor Seslow’s tutorial, I learned that we needed to install a plugin called Really Simple SSL and once that was done, the message no longer popped up!
The image below shows you that my website now has a lock icon next to it, showing that it is now secure.

I was also able to install the Contact Form 7 plugin that allows the website moderator to receive messages directly from users without using email. A pretty useful feature!
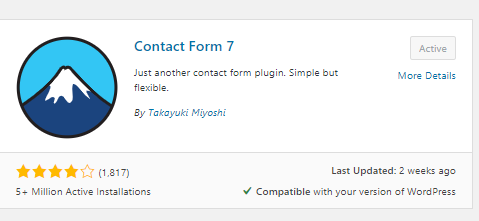
The image below shows you the page where you can add and edit the Contact Form feature.
The image below show you how it looks like when you actually go on my website. 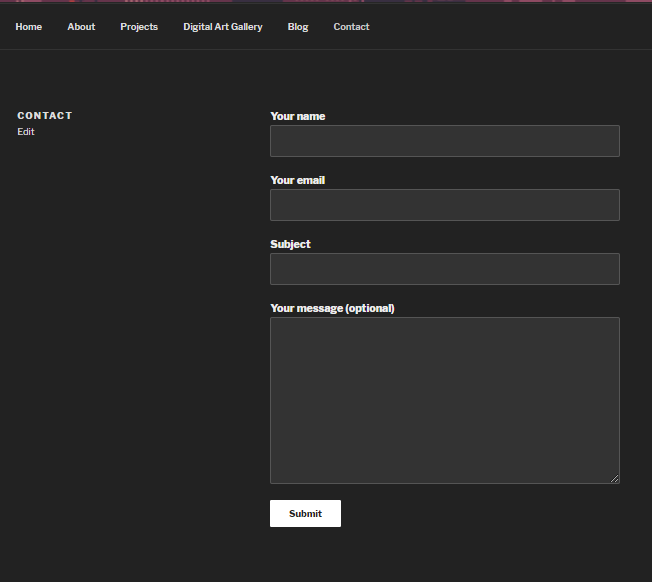
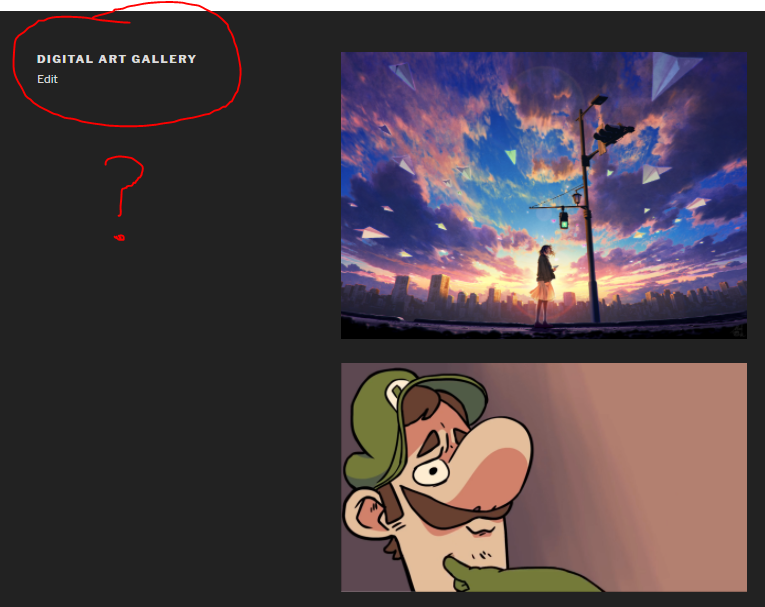
The last thing I added to my website was a digital art gallery, as shown by Prof Seslow. It was pretty easy to do and I think it looks great! However, I did run into an issue. If you see text I circled in red, the title of the Digital Art Gallery page is stuck on the left side, but I would prefer to have it directly above my art gallery like in the video demonstration. Hopefully there is a simple solution to this.

This entry is licensed under a Creative Commons Attribution-NonCommercial-ShareAlike 4.0 International license.
Hello, I saw you insert the really secure ssl. I myself inserted it and got rid of the not secure from the front of my website. I was simple and easy to do. when I created my site. I though it could cold have been easily hacked since it said not secure but that was nit the case. Great job on this weeks post by the way.