The projects I chose were The Forrest Gump Project and the create photos with words project. The create photos with words project is where you describe a photo in place of the photo itself.
I think this is important because I have always had trouble communicating so writing out what I see would be a much-needed challenge.
Obviously, I need to expand my vocabulary and be more specific when I work so it’s something that can be very useful to me as a communicator and as a storyteller.
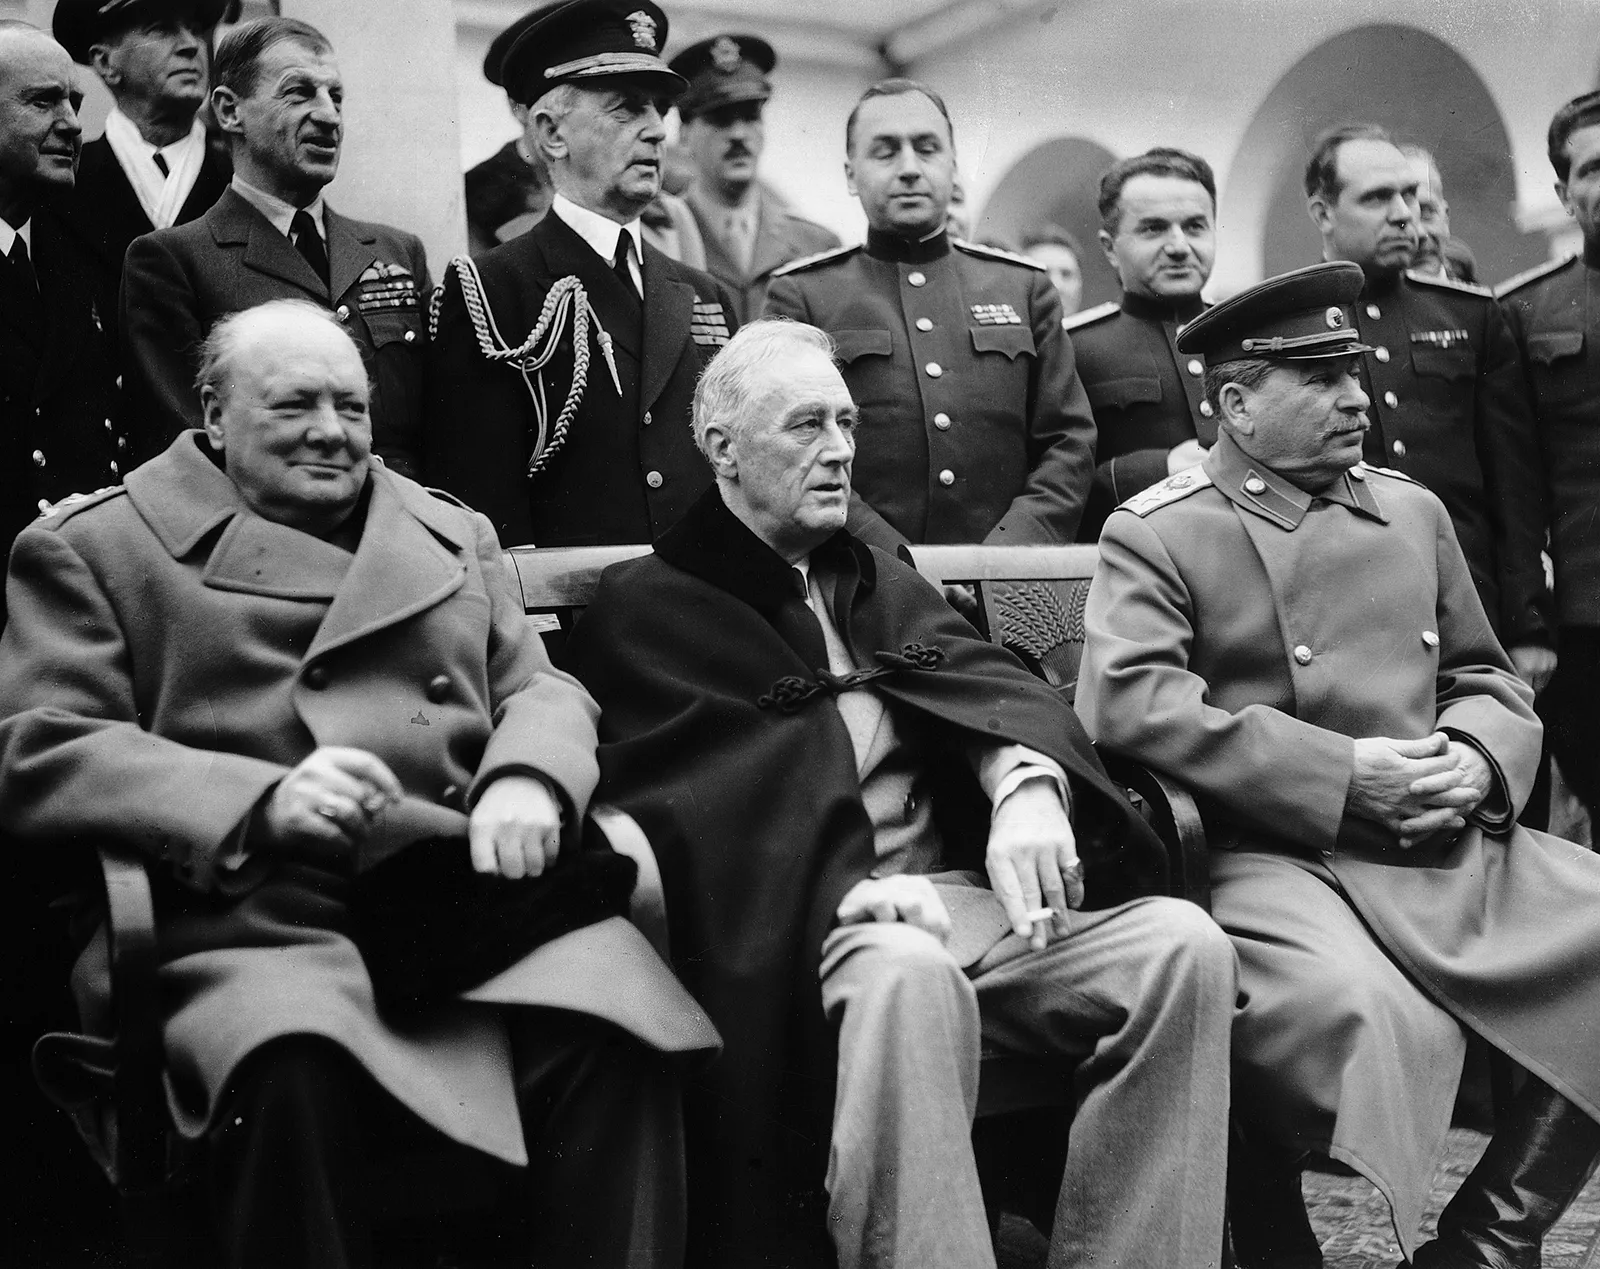
Another project I’m working on is the Forrest Gump Project which is a project where the creator has to put themselves into a historical image.
Obviously, this will be a great test of my photoshop abilities. I would have to color correct, position, and mask myself into a historical image correctly.
As a person who wants to use photoshop frequently in their career, I think this would be very important for me to learn.
Here’s how I did this project;
Step 1: I downloaded one image and took the other from my gallery.

This is one I downloaded

and this flattering image of myself I got from my gallery, I don’t know why I took this but this is a perfect image for this project.
Step 2:
I cropped myself in the image, cut myself out of the photo, and pasted it in front of the image for the project.

Step 3:
I used the Pen tool in order to trace myself, probably not the best option because I converted the path into a selection. I should have used the lasso tool but I’d spent a lot of time sculpting out the selection

Step 4:
Next, I created a layer mask that immediately crops the selection. Now my background is gone.

Step Five
I converted the image of myself into a smart object and converted the image of myself to grayscale.

Step 6:
I positioned myself in the location where I wanted to be.

Step 7:
I put another mask on my image and NOW was when I decided to use the lasso tool to crop most of my body out and used the eraser tool to make myself look like I’m behind those two gentlemen.

Step 8:
And now I’m done, right? No, because I need to make myself more immersive. I decided to add an adjustment layer and use it as a clipping mask on the image of myself. This adjustment layer was for adjusting curves which changed the tones of the image of myself, making me look like I was actually in the image.

And that’s how I helped the Allies win World War 2


Thank you for your service much appreciated
Very cool!
Good work! I love the tutorial and step by step narrative – do you find it helpful to retain the skills after you write them out? I always do!
A great challenge to take on! Im glad that you did!
I can show you a few photoshop tricks that will help with the blending of the asset that you made into the existing image – the photoshop ai is getting really good at this these days – more soon!
(Ill show you in class)