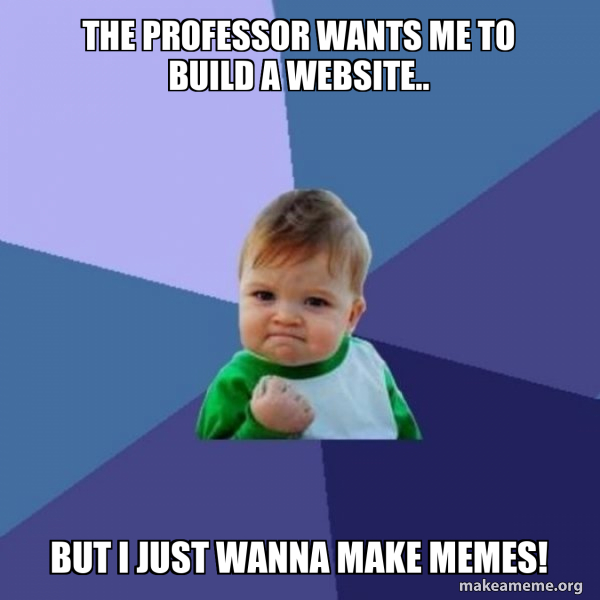
Digital Art Making Immediacy
** Assignment #6 ** – full assignment details are below
Class recording from the Tuesday Section – 3/21:
https://us02web.zoom.us/rec/share/O3OddyMAHxoivQEnPrzUq6_VGtLKLxMEXvCf0bvl1Q14ENecomvo9yaIwZUs5RRK.eDwZP5cdY-aUPRdJ
Passcode: 8&ED.75U
Class recording from the Thursday Section – 3/16:
https://us02web.zoom.us/rec/share/MV1TKVt_pQ62kEzn55tR3ewYipxnOnfFo0xz2CpiXMf1IMrTHFCDb9WePG39u5ec.-SeiMPPqQl3gRgZO
Passcode: #*uf5ud0
Let’s talk a little bit about Creativity, Immediacy and Intuition. In this post, let’s learn how it can inspire your storytelling:
***For this assignment you will need to follow the video tutorial created by prof. Ryan. I will walk you through many of the steps needed to stylize your work and complete the assignment. There are several aspects to this assignment so please take notes along the way and make sure that you address all the questions being asked.
**This is a long post so please spend time with it and absorb it as many times as necessary! And remember, my posts are also digital storytelling examples**
Creativity is…
Immediacy is…
Intuition is…
In what order do these words go?
Creativity + Intuition + Immediacy = ……..

Let’s pause, and become aware of this very passing second. I mean REALLY AWARE, so stop, and be still, very still…
You are alive. Contemplate that.
What does being alive mean to you?
Have you ever defined it beyond someone else’s interpretation? Where do those interpretations come from anyway? If not, its time to do this, and no, it can not be done in the next 3 seconds..
I believe that a big part of this life is to create and express that unique ability we all can contribute.
It will take some reflection..
More than a single blog post, but perhaps this is a metaphor, a portal that lures you in and activates you.

You are a thinking, breathing, feeling, sensory being that is processing this exact passing moment. Exactly as you read this from the specific location that you are in, with the age that your body is, in the time zone of the highest level of what you understand consciousness to be..
We can always expand this awareness.
Its a metaphor (there is that word again), because all the while, you are simultaneously existing on a seemingly gigantic rock spinning through the “space” that the best of the best of the best world’s scientists keep discovering only keeps expanding into more….well, space.
In the grand scheme of things, our gigantic rock may not be so gigantic when we think from this perspective. It’s actually the size we think it is relative to our awareness of it.
How do you develop the ability to audit this awareness and ask yourself what potentials lay in this metaphor? And, how can we apply this to other things that we wish to change or create from scratch.

It will require creativity, intuition and imagination. So go ahead and ASK.
Ask yourself a few questions:
“What is the creative potential of my awareness of this moment, and how may I intervene?
When we turn this directly to our weekly creativity exercise and re-propose the question:
“What is the creative potential of this assignment?
What is the creative potential of my web browser?”
What would you like to express about this moment and the awareness of it? How might or will you do it?
Chances are, you are holding your “device or viewing this through a computer” as you read this.
You know what device I am referring to. Perhaps it’s a laptop, desktop, iPhone, android or a tablet? It doesn’t matter and either way because it first started simply as an idea.
An expression of a collective need to expand, grow, learn and express.
Much like the infinite expanding space that we mentioned above, your device(s) is an intermediary tool to help express the potentials of creative space. Our viewing screens are rectangles… sometimes they are held and viewed vertically and sometimes they are turned horizontally, but before any content is consumed, it’s a rectangle in its form. That rectangle is a window, and so is a web browser window..

Your tech device(s) are remote controls for the planet..
We interacted with simple geometric shapes every single day, we take all of them for granted and rarely think of the doorways we are passing through as rectangles. Or the TV that we watch as “the rectangle.” As we walk up steps we rarely think of them as the horizontal rectangles that stack upwards or downwards.. You get the idea..
What is the creative potential of YOU and the rectangle that you are holding or looking through? (this is the part of things where you think Im a little weird, right? lol..)
Last week we asked and discovered what you are passionate about, BUT, but what is that you always wanted to express and share with the world? What is it that holds you back? Is what holds you back on the other side of the web browser window?
If you never “Start” then you will never have a result to work from. The only metric you have are the ones that you fear your expression wont compliment.
So, let’s start. Let’s express. Let’s share this into that rectangle / window that you are looking through and make it a practice.
Let’s jump into our assignment – let’s experiment and create a space on the web that is yours and personalize it.
Taking risks that benefit your growth and personal development while impacting and including your fellow human beings has serious mental, spiritual & emotional value.
This is your story, and storytelling is the communication pilot of the Electric Landscapes that we navigate.
LETS MAKE SOME ART!
Assignment #6 – Digital Art Making Immediacy
Assignment Description:
- Experiment with these “Free to Use” Digital Tools: Lets create an account page using mmm.page and Figma.com (both Free!) ->
- https://figma.com
- https://mmm.page
mmm.page & figma.com are both web browser based UX/Ui/ Prototyping / digital collage / website making platform / space. They work perfectly in your web browser. They also works on mobile devices! Based on the blog post here above, what are you inspired to do? What are you inspired to make or create? Each student will produce 1-2 pages using the figma or mmm.page platform. Each published page that you create generates its own URL. Be sure to locate those.
2. In a new blog post, share your experiences working with figma or mmm.page. What are you compelled to create? What did you create? Be sure to share the published link to your page(s) – its a good idea to take screenshots and hyperlink directly to the screenshots. (we already know how to do this)
I personally got pretty excited about mmm.page and began working on an exhibition of digital art collage pages. Here is an example I made with mmm.page below:
https://mmm.page/ryanseslow.main
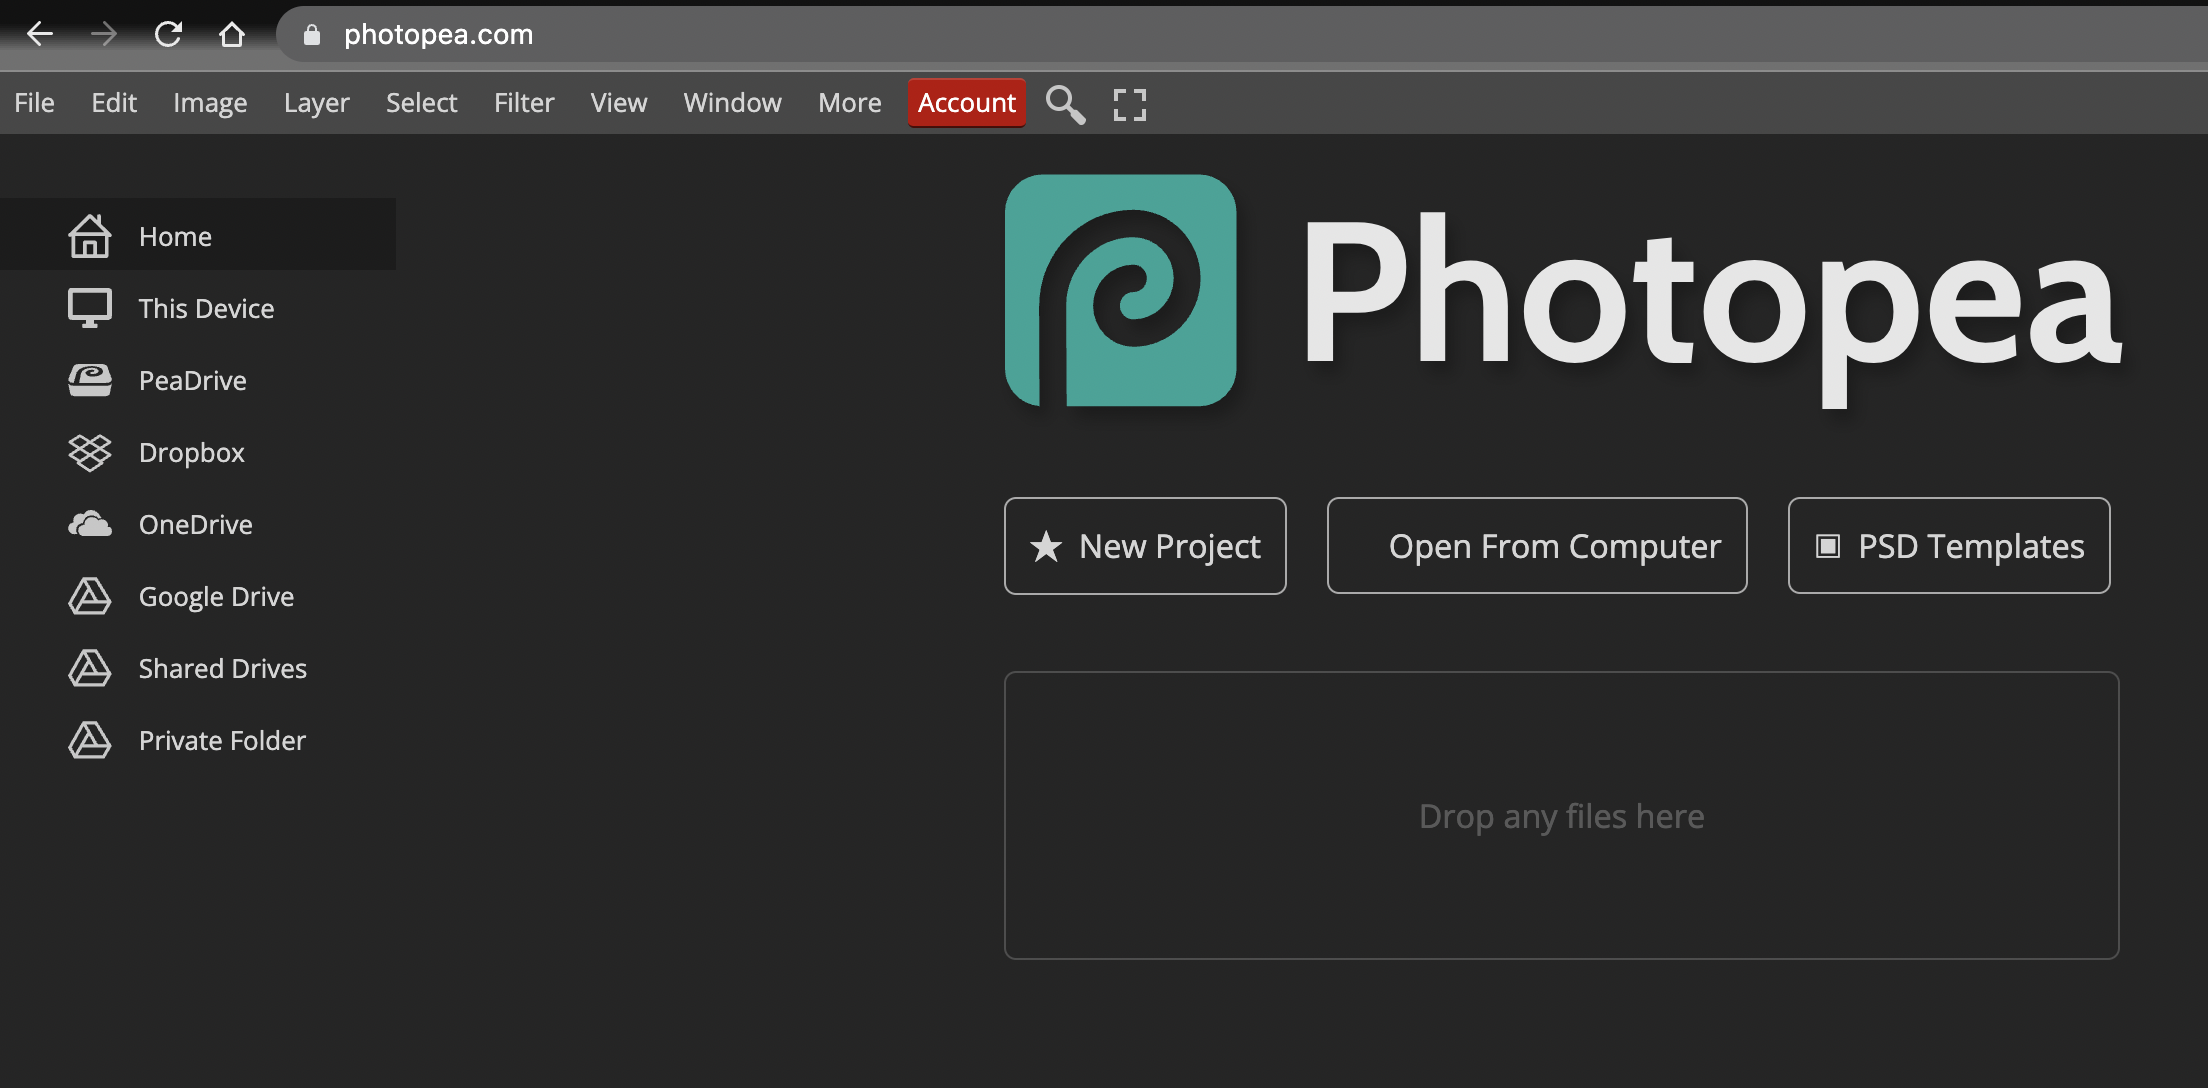
Last week we chatted in class about using image manipulating software to creating graphic assets – do you recall the photpea.com tutorial? If not, you can check last weeks tutorial for that.
Photopea.com – is a free web browser based digital image making and manipulating application, we can alter and manipulate and prepare images in this space!
https://www.remove.bg/ – remove any background from an image
Places to find Images online – Creative Commons based:
Pixabay.com – great resource for images and transparent assets! (we will use this for the workshop)
Pexels.com – great resource for images, videos and transparent assets!
Giphy.com – Well, we know Giphy by now – but animated stickers!
National Gallery of Art With the launch of NGA Images, the National Gallery of Art implements an open access policy for digital images of works of art that the Gallery believes to be in the public domain.
Digital Public Library of America The Digital Public Library of America brings together the riches of America’s libraries, archives, and museums, and makes them freely available to the world.
NYPL – The New York Public Library Digital Collections Archive
Flickr CC – Creative Commons on Flickr.
Gif Cities – Internet Archive

Let’s get creating!