Assignment-07: It’s Time to Pick A Domain Name!!

Finding My Domain Name

As a computer science student, I have learned how to create web pages through HTML, CSS, and JavaScript. So, when the professor said, we are going to create our own website on the internet, I find it really exciting. To create a website, the first step is finding a suitable domain name for the website.

To learn more about Domain, I did some research and got to learn some interesting facts about it. A domain name identifies a network domain, it represents an Internet Protocol (IP) resource, a server computer hosting a website, or the website itself or any other service communicated via the Internet. 

I find this YouTube video very useful, it easily explains everything that someone needs to know about Domain names. The Domain Name is the unique identity of the website. A Domain Name can be anything you want as long as it is available. However, it’s important to have a domain name related to the website so that people can easily find your website on the internet.

As the professor mentioned that we can set up the website based on anything that we like. Well, this makes me confused for a while. At first, I thought I will build my website based on photography, music, and arts…. basically, whatever I love to do, then I realized it might not be a good idea to mix up everything in a single website. However, now I am considering building a website to showcase my travel experiences.

I love to travel and explore around the world and I love to watch travel videos and reels. Whenever I see any beautiful travel pictures, I want to explore those places, but planning a whole trip properly is a tedious job. I know there are some travel bloggers and influencers who do post about their experiences, however, the hotels and restaurants they recommend are mostly sponsored but not necessarily the best option to choose.  Besides that, as a student, it’s not always possible to go anywhere I want because of my tight budget.

Therefore, I am planning to set up my website based on my travel experiences where I will post not only travel photos and locations, but rather help people to plan the entire trip, including where they can stay, nearby restaurants, and nearby places they can stop by.

So here are a few domain names that I have selected for my website and I will check the availability of those names from Godaddy.com 

  • Plan4Trips.com
  • goPlaces.com
  • explore4fun.net
  • advanture2go.com
  • proExplorer.net
  • travelgram.com
  • love2explore.net
  • worldExplorer.com

I choose these names so that people can easily understand what my website going to offer them based on the Domain Name.

Now let’s talk about my personal favorite websites that I love to explore YouTube and Instagram. I have already mentioned them in one of my previous blog posts. I love YouTube because it has anything and everything that anyone is looking for. Honestly, it makes our life so easy that we don’t really need any tutors anymore to learn our passion. For example, if we want to visit a place, there are tons of videos available on YouTube and we already know what to expect from those places even before visiting there and we can plan accordingly.

Similarly, I love Instagram because I love photography and I get my inspiration from Instagram.  I also love the reels on Instagram and it is my favorite activity to do whenever I get bored.

Assignment #10 New Blog post.

Hello and welcome to fivesenseart.com where I was able to post five blogs but we will be focusing on two of my favorite posts. Posting blogs on fivesenseart.com was a blast. I had a great time creating, editing and posting my art on my website can’t wait to see what you guys think and I hope you guys are having fun with your website as I am with mine. I was able to edit my post By creating a gallery, you can display images in a grid layout with columns and rows. You can show thumbnails for your pictures, and users can click on them to see the full image. You can also use wordpress to create even more robust galleries with more features. WordPress comes with a built-in feature that lets you create a gallery. This feature is very basic and does not have many options, but it gets the job done.Here is how you would create an image gallery in WordPress without using a plugin.
First, you need to edit the post or page where you want to add the image gallery. On the post edit screen, click on the Add New Block icon and select the Gallery block.
This will add the Gallery block to your WordPress editor where you can click on the ‘Upload’ button to upload photos from your computer. You can also select from previously uploaded photos in the media library.

If you click on the Upload button, then you can generally upload one photo at a time. However, you can select and open multiple images with Ctrl key pressed on your keyboard. Alright Let’s move on to the good part!


The first and one of my favorite posts is called Sleepy soul not going lie creating this piece was really challenging. I didn’t know what color I should use and what kind of art I should go with. At first I was thinking of doing a realistic character but in the end I went with an animated character. I really like the end result of if and am really happy with my decision.

My second and second favorite blog post is called Loving soul. Loving soul is based on one of my favorite anime characters (Izuku Midoriya from My Hero Academia) but with my own twist to it.  Creating that piece was really fun especially with the mix of colors and also the background detail.

Thank you for your time and have a great day!

Assignment #8

It was very confusing even though I watched the zoom videos, not saying the zoom videos did not help, I am just saying certain things I had to try to figure out on my own. I had some ideas for the name of my websites, but it really was hard to pick names when everything seemed to be taken. I know you mentioned in class that we are not trying to create the next amazon website, however, getting the right idea was still hard.  Invention GIFs | Tenor

Eventually, I just went with what I already had in mind, though I did not want to use it because you also mention that you wouldn’t recommend us to have a long domain names but the name I chose seems fitting and no one had it. It is called “madeinyourlikeness.org” 

I Finally Invent GIFs - Get the best GIF on GIPHY

This is what I had, next is customization

The WordPress Customizing Series

Hello everyone, it’s been a long time since I’ve blogged here. It’s been difficult to enter into my account since someone attempted to hack it, but I’m back now. I have a lot to talk about today.

I wanted to expand my understanding of WordPress and learn more about how to create a beautiful website that will entice visitors to want to remain on it, so I went to YouTube and found this video that piqued my interest.


I began personalizing my website by first modifying the theme. I make the decision to download Astra. Astra is a stunning WordPress theme that is fast, highly adaptable, and appropriate for a blog, personal portfolio, company website, and WooCommerce marketplace. It is really light.


I choose to download a beginning template that will provide me with website template possibilities that I may customize for my own website. This is referred to as a beginning template.  With the Starter Templates plugin, you can create professional-looking, pixel-perfect websites in minutes. This plugin offers me access to 280+ pre-made whole website templates and individual pages for Elementor, Beaver Builder, and the Block Editor, which are my favorite page builders. I was able to choose a free template to assist my website get started with this plugin.

To reproduce the image above, I convert it to this image. I want my homepage to be the first thing people see.

I also use Elementor to create and update my pages. Elementor is a drag-and-drop WordPress page builder. Using a visual editor, this plugin allows you to build stunning pages. It’s made to let you easily create dynamic websites.


I also decided to do a little blog example on my website just to see what my website will look like if I decided to post anything and it came out great. I was able to find some free images in pixels which can save me from getting copyrighted.  

Even tho i’m not done editing this my website but i wanted to show you guys the progress. I hope everyone have a great day.


Assignment 9: Getting To Know WordPress

The very first step to customizing  my website was rewatching professor Seslow’s recording to refresh my memory of everything he explained. In the recording he demonstrated different ways to design our websites using the Twenty Twenty theme. 

I was unsure of what theme I would go with, but I think I had a pretty solid idea of what I wanted my website to look like. So as I read each theme’s description, what caught my eye was Twenty Twenty-Two embraces the idea that everyone deserves a truly unique website

Now I know you might be thinking…

“Didn’t professor say that might be the hardest one to use?” Yes, yes he did.

“Didn’t he also say that there’s not much tutorials on it?” Yes and he would be correct.

“You still chose it didn’t you?” As a matter of fact I did.

“After hearing all of that, why would you still choose it?”

With all that being said, I tried my best to understand what I was working with and I’ll be honest, I love a good challenge, but this was super difficult. Thankfully I kept searching to find a clear explanation of that specific theme and I happened to stumble upon this life saver:

This video made things 100% easier and as time went on I’ve become a lot more comfortable with WordPress. I’ve managed to create the homepage, about page and contact page so far. I thought having the website being different shades of brown and colors that go well with it would be a great play on the name of the site.

Honestly nothing on the site is completely finalized yet so knowing myself I might just try to customize another theme to have options to choose from or entirely change the current layout.

It is still a work in progress but I think I’m getting the hang of it. Check the site out and let me know what you think: https://brownecorner.com


Resources I used:

Assignment #10 week 11.

Flint Lockwood Computing GIFs - Get the best GIF on GIPHY

 ASSIGNMENT #10 Week 11.

Hello everyone today I just published TWO new blogs one about my first publish blog and another one about me in WordPress, and some modifications to my website with some of the plugins(Classical).

My first post invites you to enter.


Hello everyone here is my new website, made with the classical plugin that is use in CT 101, however is use on WordPress on my domain about RealEstateAtGreatRates, here is my link to my webpage http://realstateatgreatrates.com/?p=17&preview=true 

Hello everyone please click on my about page to see more information and contact me for any topic, and do not hesitate to ask me or give me any feedback on my page thank you.


My second post(about me) also invites you as well.


Hello everyone I’m Angel Batista and I’m the owner of the domain of RealStateAtGreatRates.com, I’m a student at York College this is my first year in 2021-2022 on CT101, I created this domain to talk about real state and discuss their prices and geographical location in the country.

You can contact me through my email at [email protected].


These two posts were my first experience writing on WordPress for my first time(beside the website), I finally have some experience and I hope I can get to make more post about different topics.

ASSIGNMENT #9- CONQUERING WORDPRESS

For me WORDPRESS is a litle confusing at first but I am slowly starting to get it. I just need to have a whole lot of focus and patience. I settled on a different theme at first but changed it to twenty- twenty one because it was more simpler and had many tutorials on youtube. I chose grey as the background color because it is calming and simple.

This is how my website used to looks like but it has changed as of now…

I feel like my site was half complete it needed something more so it could stand out. I feel like at this moment with no direction right now but I know what the base will be. To begin I turned my site JUANCAR1OS.NET into dark mode because I prefer dark colors than something really bright.

I added only 3 tabs. The first one is the home button you press it it will refresh everyhting so you can see recaps or finding any information they need. The second is the new post button for any post I upload they will be redirected to a new tab only with my new posts. The 3rd and last is the about/ contact I merged them because they will learn who and what we are and how to contact us for any info.

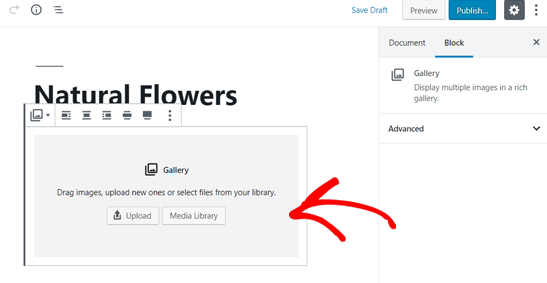
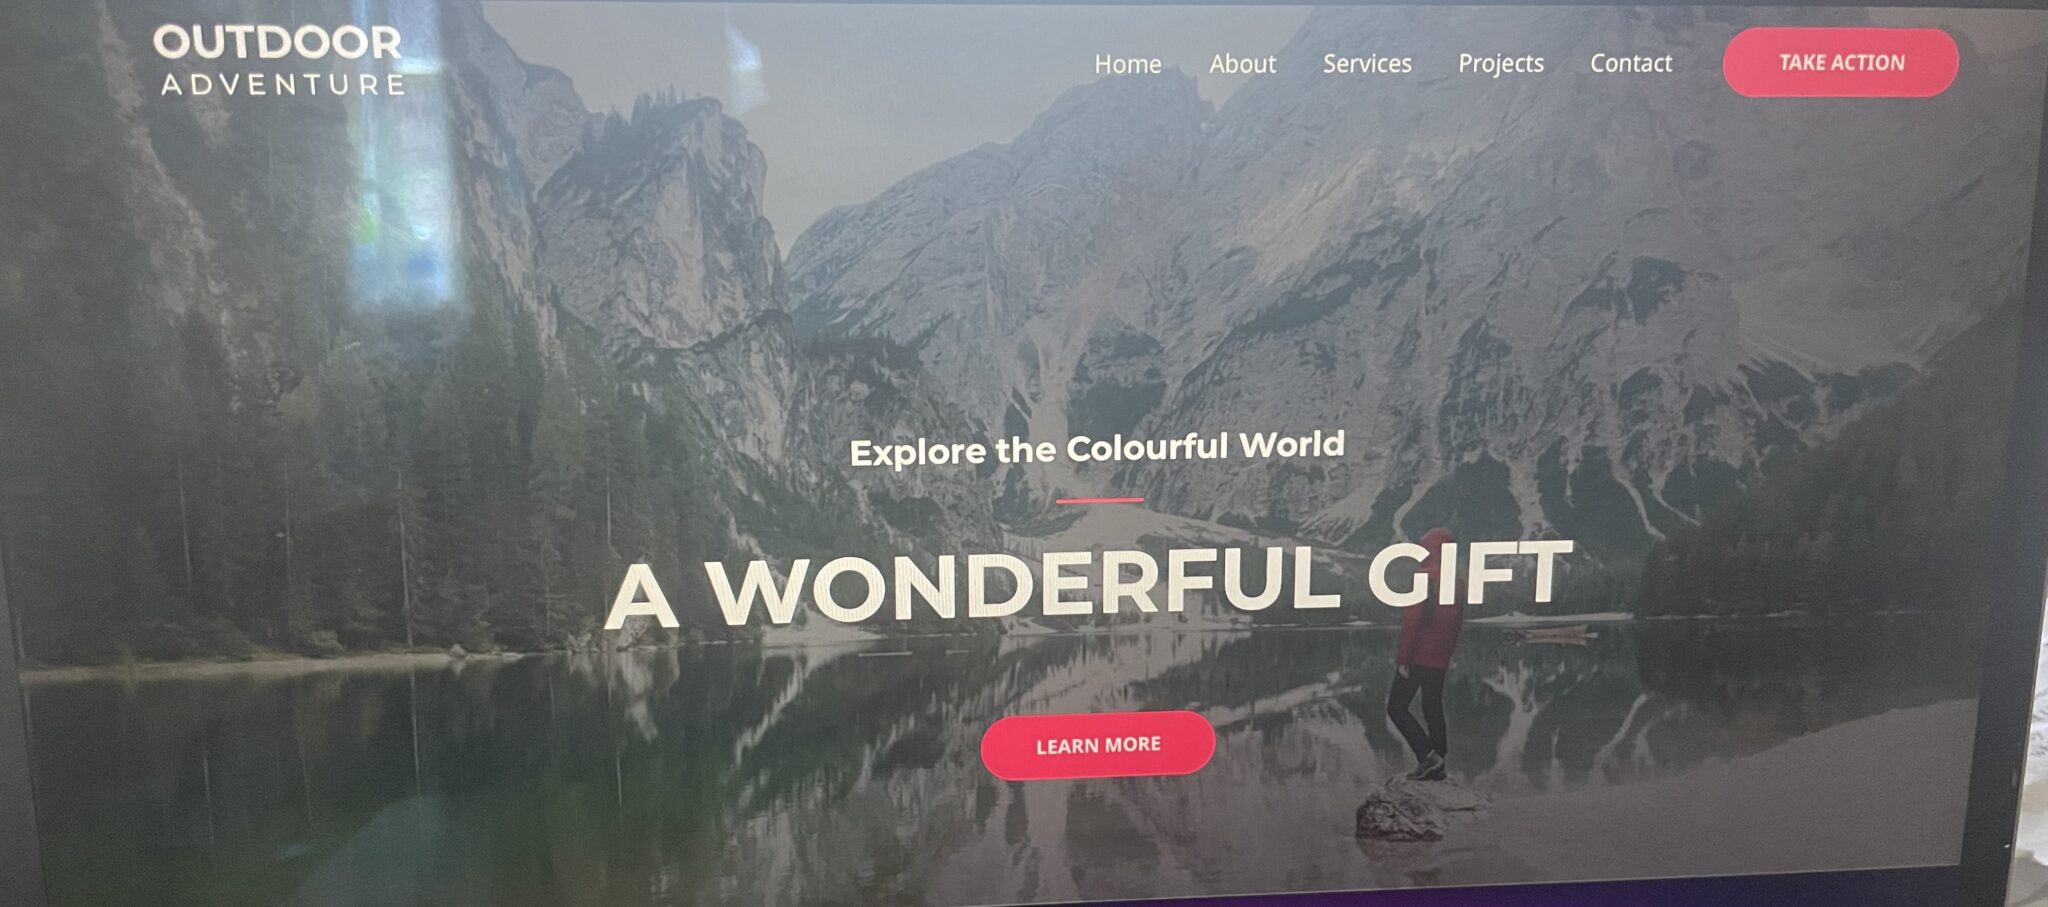
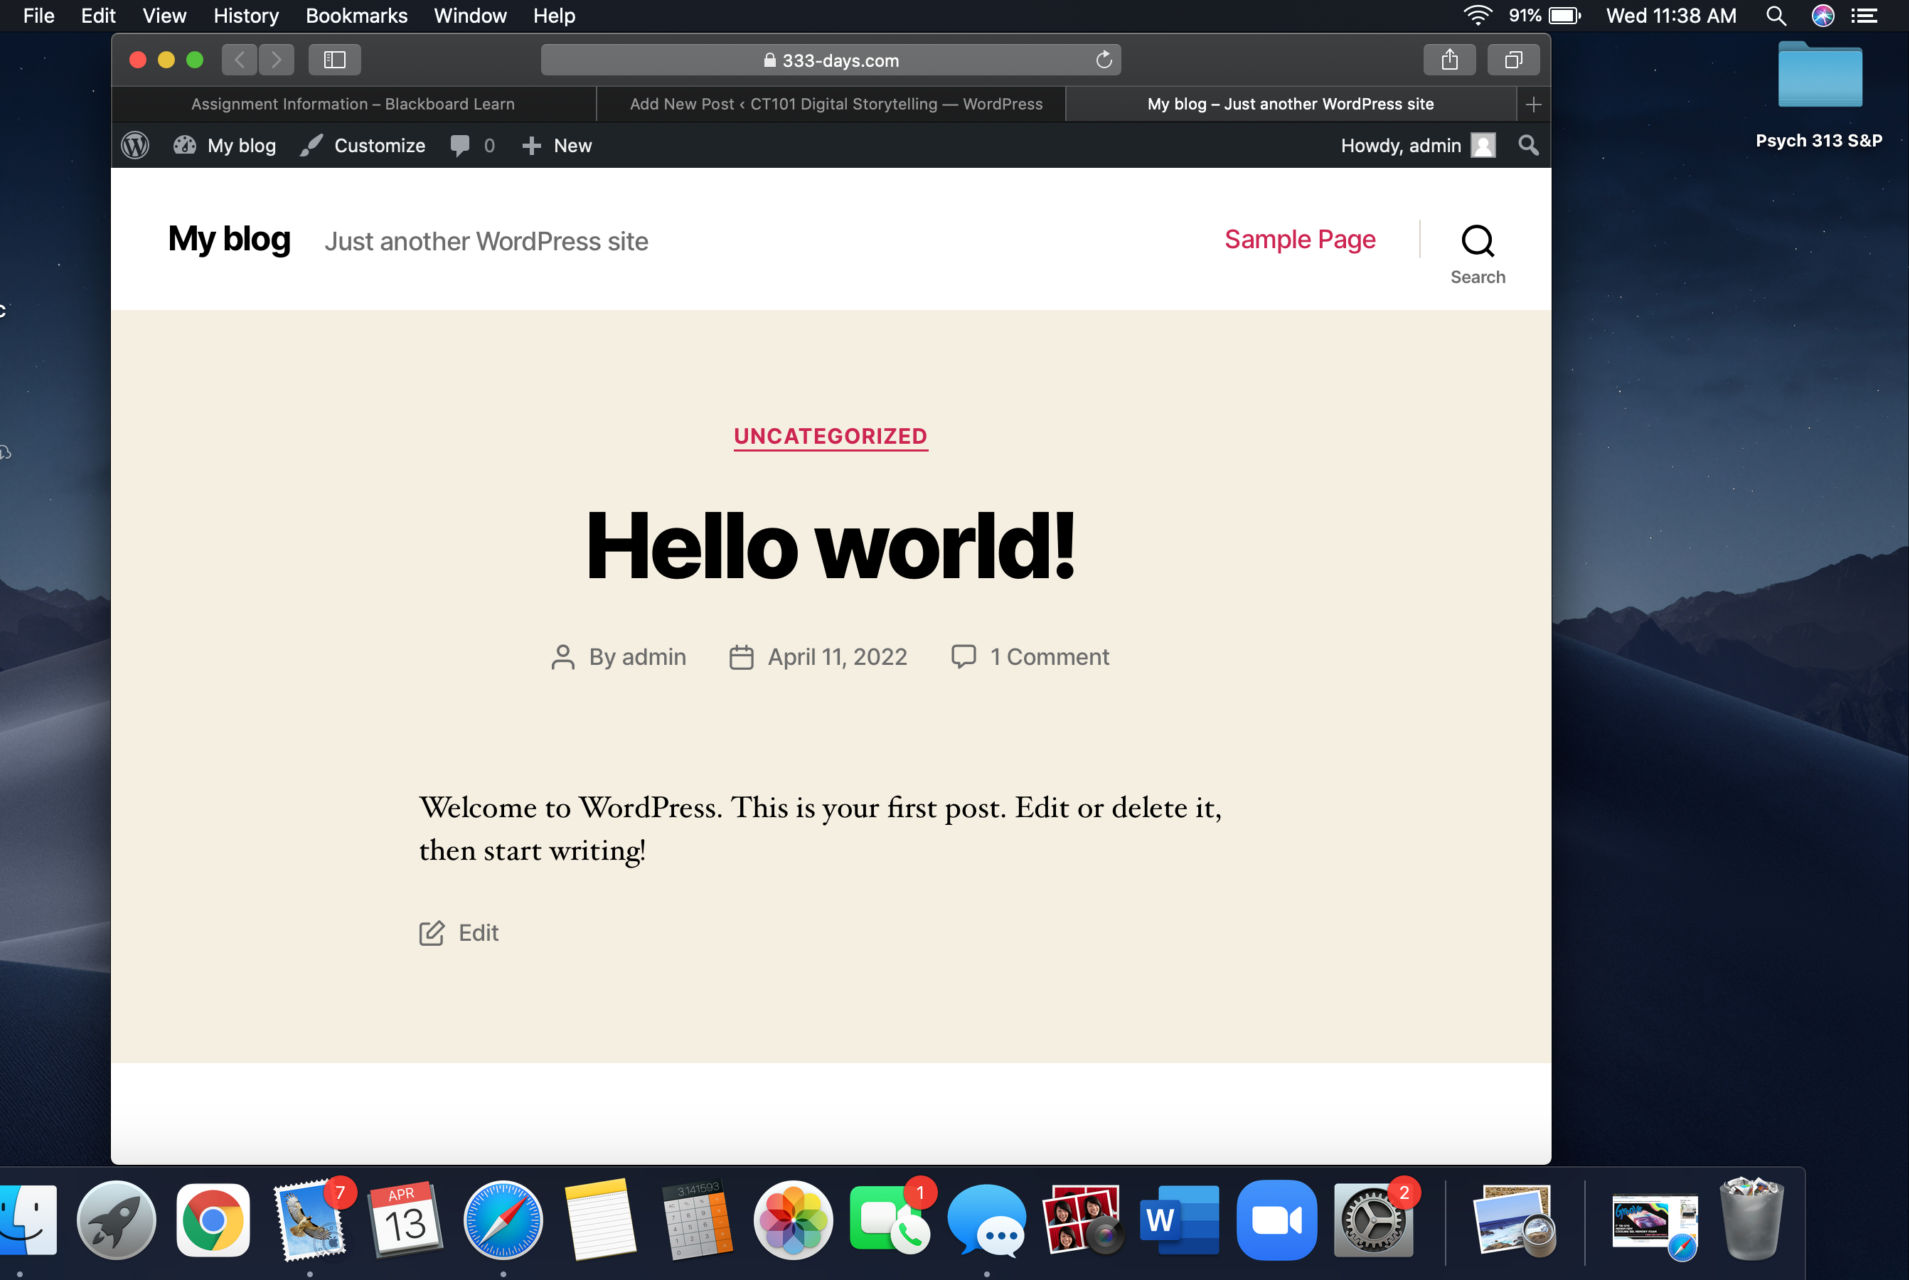
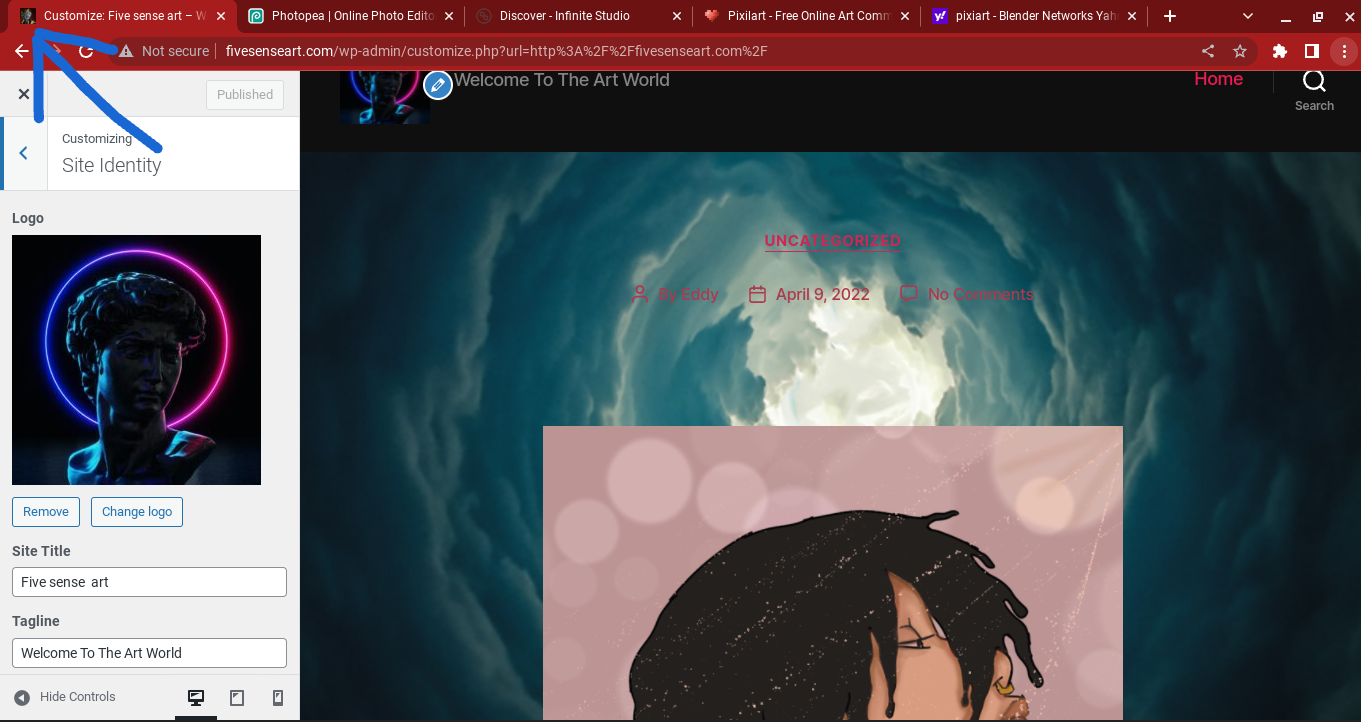
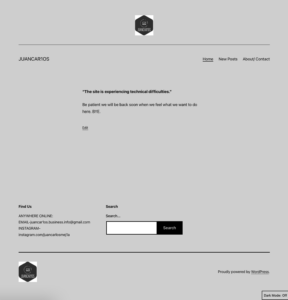
I also updated the website logo because I wanted to change it up. It looks like this now…⬇️

My website without dark mode looks like this…

I like how the black and grey work off of each other although the logo has white I think it still fits the overall theme thats all the editing for now until I get more inspiration for my site. I do now I will focus on current events for my site and discuss things in my life.

BYE


Assignment #9: Customizing my Website

Customer Service Peter GIF - Find & Share on GIPHY

I started customizing my website by changing the Theme first to the Twenty Twenty theme. Since it made it easier to create pages and add categories compared to the Twenty Twenty-Two.

After I changed the theme, I started making categories, I made two, which I named GIFs and Memes. I made these two categories since my website is centered around those two topics. The purpose of my website is for people to stop by and look at the different memes and gifs I have posted and have a nice laugh about it. In addition, on the top left you can see what the website will be about and the tagline, which is a place where you can have a nice laugh.

I started making pages as well for each category. I made two pages for the category, Memes, where I added some funny memes that everyone uses.  In addition, I added a page where I gave some lore to some iconic memes people see.


Assignment 9: Getting Our Feet Wet

Getting started on customizing my blog, I was reminded of my tumblr days, so naturally, I took to that as my inspiration of how I wanted to edit my blog page.  

I began by adding a logo and immediately changing the colors. I was not going for that red and white color scheme. I chose this picture as my logo because I wanted my blog to not only be personal but allow my viewers to feel a part of it. Going back to Tumblr, it was a blog post curated through photos and gifs. I followed those who curated photos under themes to my liking. I want my blog post now to do the same.

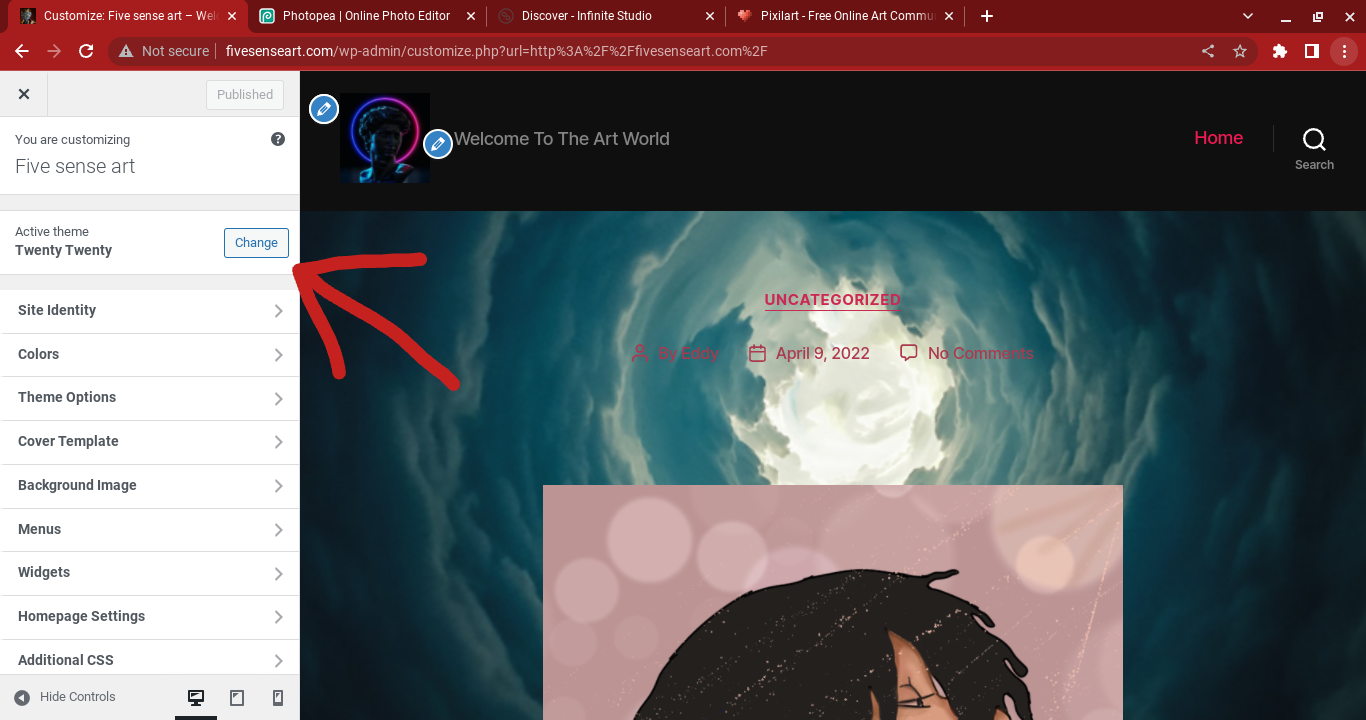
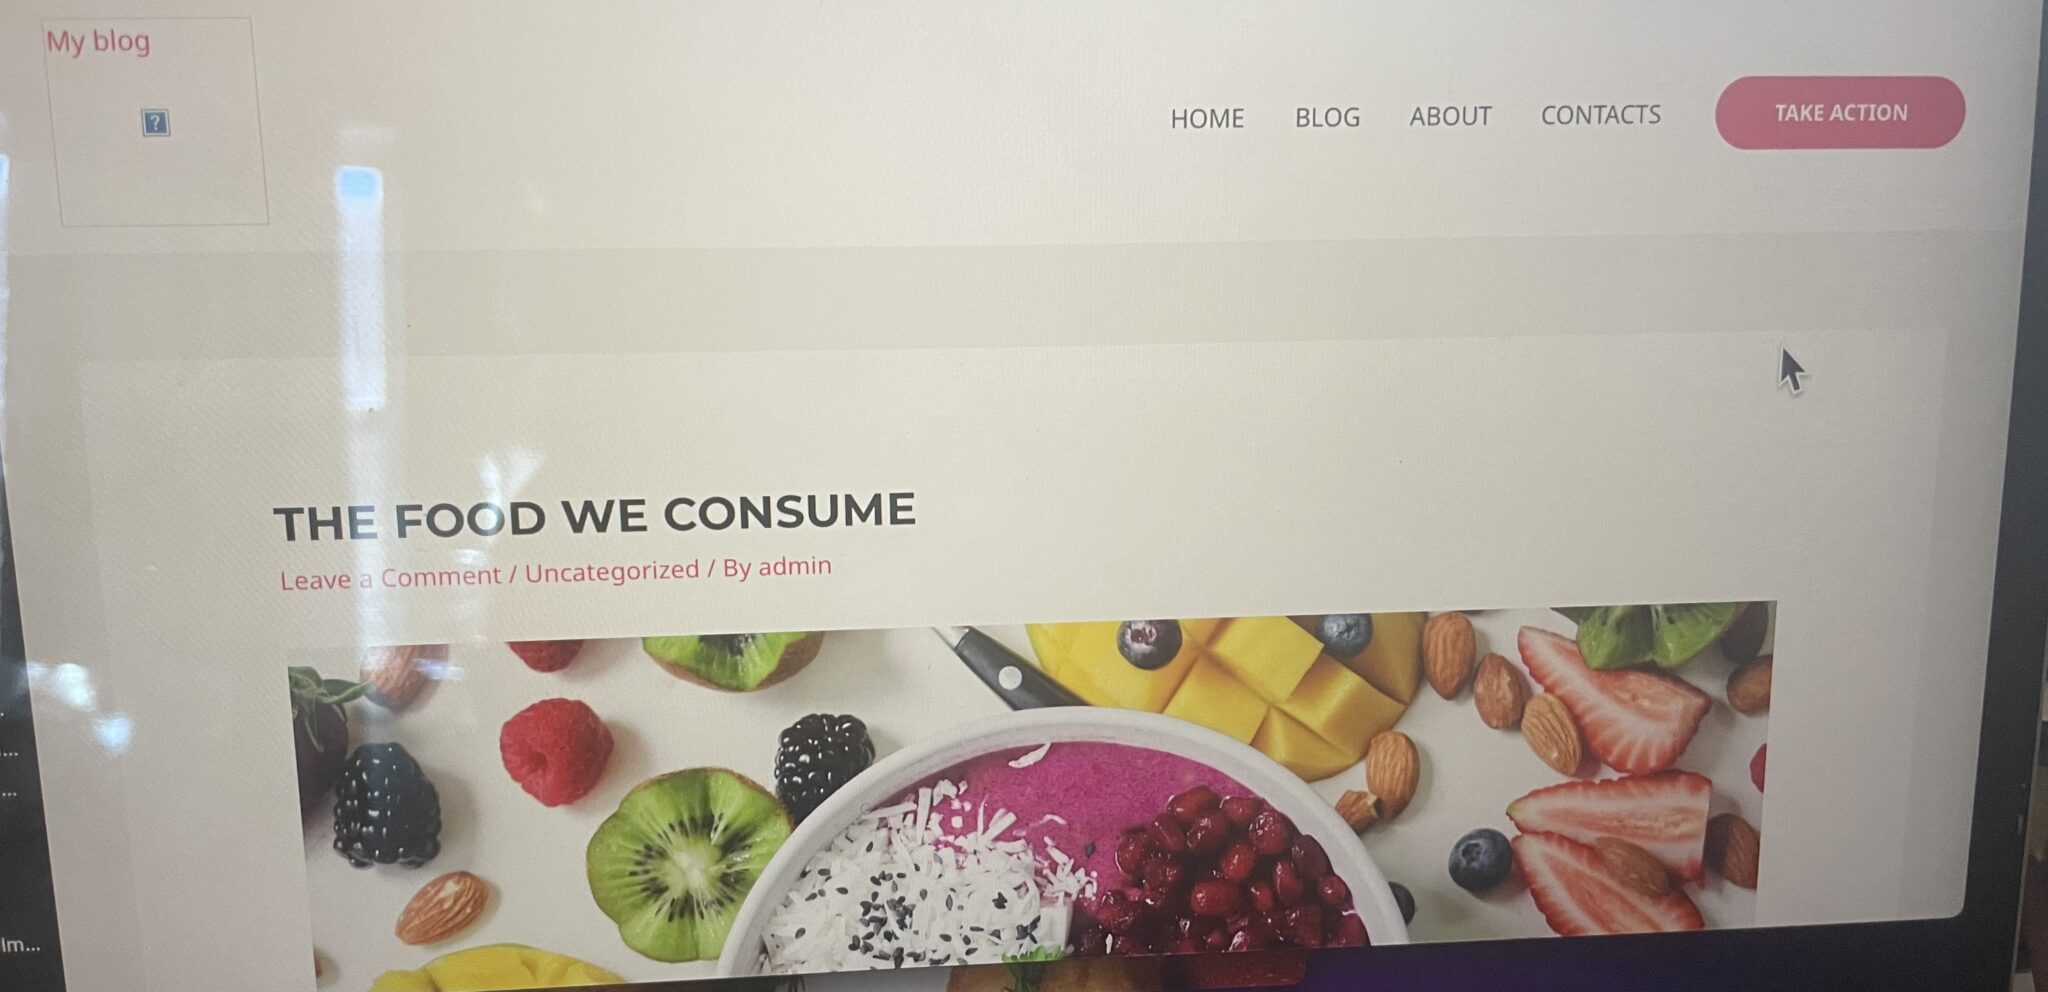
I went for a dark background to make the vibe more sultry and private. I contrasted with neutral colors for the rest of my blog page and also used this photo as my background. Although we were advised to use a solid color preferably, I felt that this photo was neutral in color and the textures were subtle. When I placed it as a background and saw how it looked scrolling through my blog I was very pleased. It is light and not distracting, I find it really asethetically pleasing. I guess a tip would be to play around with images and find something that is easy on the eye.
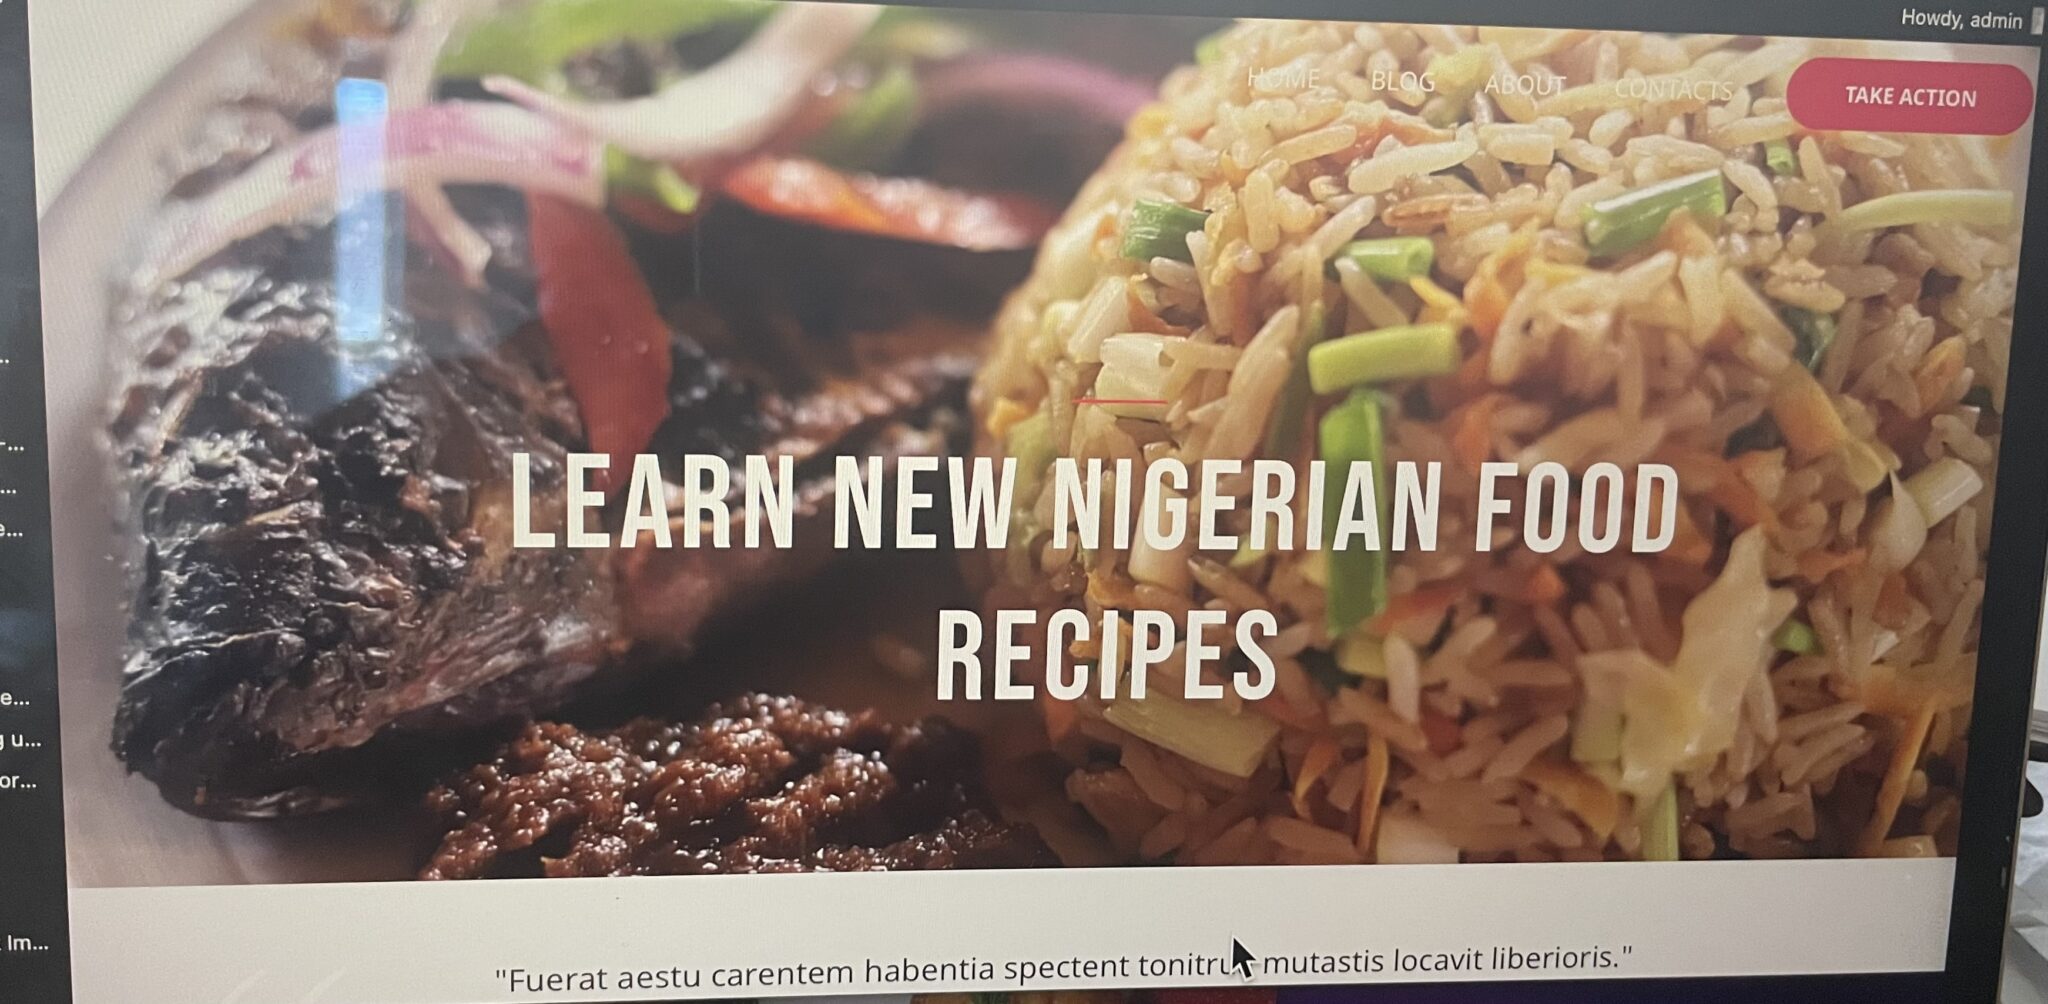
I also went ahead and added some photos off my Tumblr that followed the same theme I wanted for my blog page. If you look through the gallery under the contacts the photos are tropical, sandy, beach, and overall nature vibes. I want my page to be relaxing, and look at life through sunset colored lens.  I am not sure if the gallery will stay here however, I am considering a Gallery section to the menu bar so the photos can be more organized and easy to find for my viewers enjoyment.

I you scroll down on the main page you will find that I replaced the red blocks with images I found matched with the different posts I will eventually upload. I divided them into four sections: work and days, the life I deserve, feeding the soul, and familia.

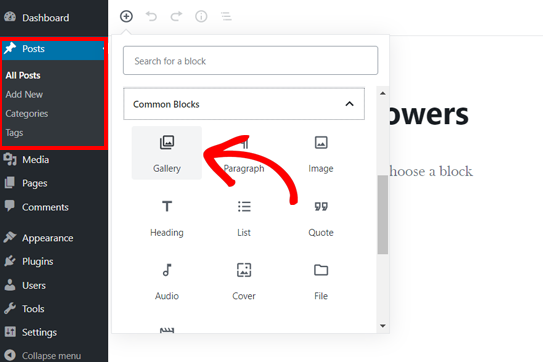
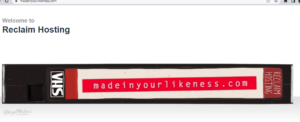
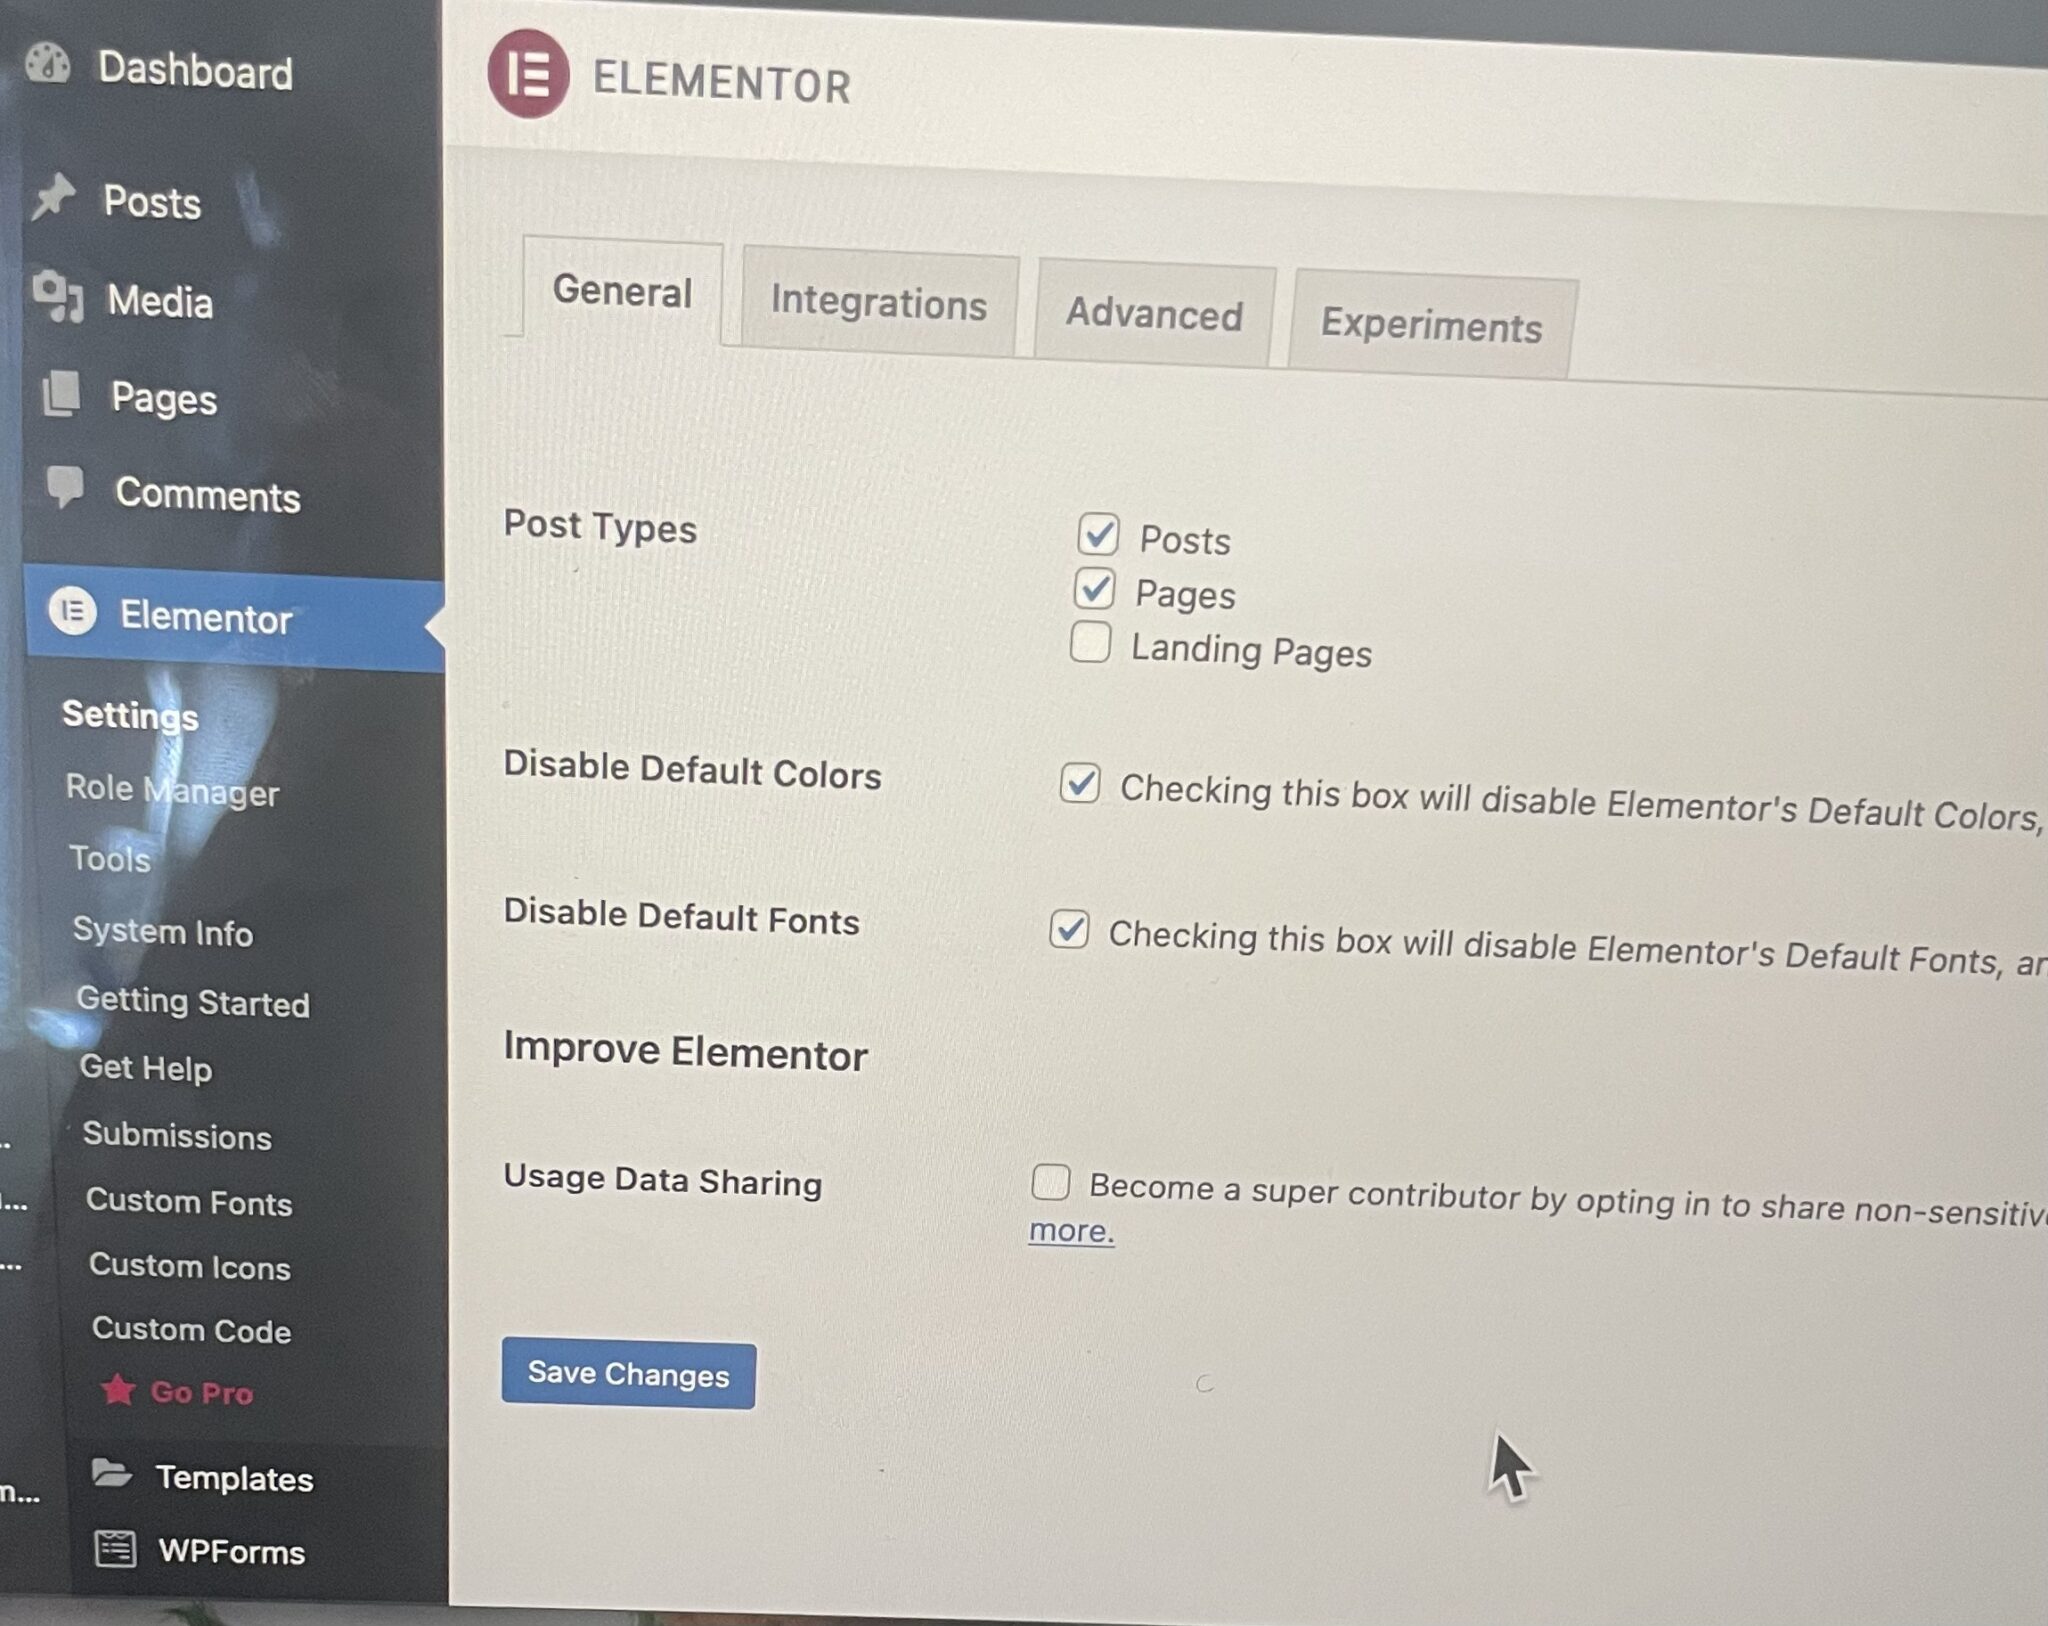
However, I have been having a hard time trying to get rid of this red block. I really don’t like it but I can’t seem to find anything that allows me to either replace or delete it so, I have just navigated around it for now.

My next steps are to add into my blogs through pictures and detailed descriptions of my four sections and create a gallery section.


Assignment # 9

The theme was the first thing I worked on, however, I chose to go with the default configuration of Twenty-Twenty. The new WordPress theme is Twenty Twenty-two. As a new to WordPress I active the theme Twenty-twenty which helps me to customize my site after watching zoom recording instructions.

For this assignment, I add a new item to my menu. I neam this new item ‘Photography’. Photography is my hobby. I’m so happy to upload my all photograph to my site. To add this option, first you have to go to ‘Menu’, then click on the primary and press the ‘add items’.
Another thing I edited from my site is the Social menu. I add my personal email address and my facebook link. I didn’t want to have my Instagram icon on site. So I remove this from the menu.

Assignment 8: Just the Beginning

My overall experience with registering domain was smooth as I had the Professor’s video tutorial by my side for every step.

I wanted the domain name 333.com however it was taken. I had then come up with the idea to combine two of my domain name off my list and came up with 333-days.com. It’s kind of funny that this was similar to the Professors domain name however, rest assured, I came up with that after the fact 🙂 .

After I my domain name was approved and I verified my email, my next step was to install WordPress.

After getting a first look at my newly created website I am excited to start designing it as my own.

Exploring the WordPress Potentials, Part II!

Exploring the WordPress Potentials, Part II!

Assignment #10 (details are below)

Welcome Back!

***Quick note, next week is spring break and the week after that we meet in person again, please mark your calendars as it is very important that you are in attendance on in person class sessions.***

(recorded videos from our class session below at the very bottom of this page – scroll down)

Let’s get a bit more specific with WordPress and begin to apply intentional context to our website design. Last week we started setting up our new websites by simply discussing the potentials of the visual design creation and experimentation process.

The recap – we talked about how to set up new pages, and how to add those pages to the main navigation menu. We discussed the navigation menus locations and what their functions were. We looked at the footer space and adding widgets in the footer areas. We also took a peek into “plug-ins” and installing plug-ins (especially the Classic Editor for the similar blogging experience we see on the ct101 site for writing our posts) and the differences between pages, posts & categories.

This is quite a bit of information and I highly suggest that you re-watch the class video tutorials from last week for the practice of retaining the new skills that were shared and displayed. I do this very often myself as I find it super helpful for being able to replicate a new skill or technique.

This all takes regular practice and a bit of openness to experimentation in general. How did you do with your experimenting last week? What did you work on? You can leave a comment below on this post and share the link to your new site :))) – WordPress is a very intuitive piece of software, and it wants your creativity! Lets continue forward. I will be sharing a new series of demonstrations and will add the recorded videos from our class session below at the very bottom of this page.

Assignment #10 – Details – Lets begin populating our new websites by publishing a new blog post there this week. Thats right, You will be publishing a new post there and also “cross-posting” that information here on CT101 as well. There is an efficient way to cross-post content across wordpress websites. I will show you how.

Lets say you just published a great new blog post on your new website and you also want to share it with your classmates / community here on the CT101 website. (You can! Its easy)

Step 1 – is to publish the new blog post on your website. Remember, every blog post has its own unique URL that can be later shared on other places and space on the Internet.

An example of cross sharing your post on may be done in a new post on CT101 that reads:

————

Your Blog Post Title (all blog posts need a great title!) 

(insert an image – GIF – Meme – Quote – or some kind of related media)

“Dear Fellow Readers – I just published a new blog post here on my website: http://yourwebsitename.com, (make sure to hyperlink the post url) please come and check it out and feel free to engage in some fun dialog. Thanks so much”

————

This is a very minimal example above but perhaps just a title and a link is not that interesting? We need a bit of compelling energy to draw the reader from CT101 over to your site. So make this interesting and creative!

**This Week’s Blogging Assignment Prompt for Assignment 10**

Publish a NEW blog Post on YOUR new website, the post can be about anything that you wish that has direct context to your new website’s stated intentions (what your site is being used to promote and share.) After publishing the post, create a new blog post here on CT101 that shares a synopsis of your new post from your website that will entice and grab our attention, be sure to include the direct URL as a hyperlink to the new blog post.

PS – WordPress is really vast and there are many many tutorials out there for “WordPress beginners” – Perhaps YouTube is a helpful source for finding some new resources outside of class? Of Course! Here is one, but feel free to share links to others that you have explored (add the link to the comments section below.)


The Video Tutorials for this weeks’ assignment are posted below (from 4/11/22 & 4/14/22)

https://us02web.zoom.us/rec/share/98tlj5CPJG2085qdTSmveWK6UWecLlNNxYIowixzouQAy5ISQAdLKZ2YXSp7FQM1.fJFc5N9cvUGFdIi5 

Passcode: N1oz9^=P

https://us02web.zoom.us/rec/share/xmQnlxz1YnWoLuWdvpIpop7N6u3TcK6uQhlc9DTPya-kzROCwcqeXgQ9aTjOvv8I.aztZY2gTMl3AZAaQ 

Passcode: =6nM&tm8

“Assignment #6 – The Mid-Semester Assessment Post”

 Mid-Semester Recap Post

Assignment #1: Things that make me happy on the Internet!!

Assignment #2: The potential of Memes and GIFs storytelling in real life.

Assignment #3: Are memes art?

Assignment #4: Digital Storytelling Project Flexibility

Assignment #5: Digital Art & Creative Immediacy

How am I doing in CT101?

To be honest, I am really enjoying the course, learning so much new stuff which helped me to improve my communication skills. However, I am not doing great in terms of posting the blog posts each week as well as posting comments on others’ posts.

How many points have I earned so far and what grade do I believe I am maintaining? 

So, this is going to be my 6th blog post for this course, although I should have worked on my 9th post by now. I have been sick for the last few weeks; therefore, I was unable to post on a regular basis. Although I am falling behind in terms of posting, I believe, so far whatever I posted I took them very seriously, I learned so many things throughout the process. Whenever I post something, I tried to follow the professor’s instructions as much as possible. So, I believe I was able to maintain the quality of blog posts and did pretty well. Since I have to score at least 85 to get an A, I will try harder to achieve that.

What have I learned and retained the most?

So far, I have learned and retained a great deal of information, but the most would have to be our previous two assignments regarding  ds106 assignment bank and mmm. Page. The ds106 assignment offers so many options for developing our skills in audio, video, photoshop, visual, writing, etc. Through mmm.page I learned how to incorporate different types of media into one and utilize my previously learned skills in terms of building a page by inserting GIFs, hyperlinks, videos, and much more.

What new skills have I developed, cultivated, and displayed regularly in my weekly posts?

Till now, there are so many new skills have I developed, cultivated, and displayed regularly in my weekly posts. I actually learned how to edit pictures using photoshop websites from this course for the first time. I am not active on my social media accounts, and I mostly take pictures for my personal memories, so I don’t bother much about editing. Thanks to CT101, my photoshop skill got better also I learned to make Memes and GIFs. I used to think making Memes and GIFs is a very complicated process, however, when the professor introduced us to websites like GIPHY and Imgur, I find them very interesting and easy to work with.

How do I assess my performance through self-reflection in this class?

I try to assess my performance through self-reflection by checking comments and feedback on my posts on a regular basis so that if my professor or fellow classmates have suggested to improve in terms of formatting or adding a further explanation on something with more detail. Another way I assess my performance is by viewing the recording and peers’ posts on the same topic before starting the assignment and taking notes of important things that the professor asked for so that I don’t miss something important. I work on improving my posts so that they get better each week. I have witnessed myself gradually becoming more comfortable with sharing thoughts in my posts each week, which is a sign of my improvement.

What do I know now that I did not know before taking this class?

Frankly speaking, most of the things that I  learned in CT 101 such as hyperlinking, embedding videos, creating GIFs and Memes, and utilizing different websites like Giphy, ImgurDS106, and mmm.page , etc., and most significantly WordPress, I had no idea about all these at all. Now, that I have learned how to use them, I feel more confident in terms of expressing myself on the internet. They really helped me to grow my overall communication skills and I am thankful for that.

Do I see my weekly blogging work expanding creatively? 

Yes, I do see my weekly blogging work expanding creatively. Since each week we are learning something new and have new materials (different websites/ online tools) to work with, therefore, my blog posts are also expanding because I work with something different every week.  They do not look repetitive at all and I constantly focus on doing better on the upcoming posts by looking at my peers’ posts. Since there’s no rush of due dates, I give myself enough time to have a better understanding of the posts, making notes of important stuff so that I can maintain the quality of content.

Are there any assignments that you are missing?  Are you commenting regularly on your classmates’ posts? Are you responding back to comments given to you by the professor & your classmates? Are you participating during class time? 

Yes, I do participate in class and answer the questions the professor asked during class time. I also take notes while the professor explains the assignment and works on drafts. I also try to comment regularly on peers’ posts and try to respond back to the comments of my posts as much as possible. Unfortunately, I am missing Assignments# 7 &8, as I mentioned earlier, I had been sick for a couple of weeks. I thought if I push myself, I would be unable to maintain the quality of the assignments. Also, I am taking 21 credits this semester and every week I have to study for multiple assignments and quizzes. However, I have planned to work on CT101 during the spring break. I am determined that I do not want to make any more delays in terms of posting each week.


Assignment #9- Customizing my Website using WordPress

The first thing that I worked on was the theme but I decided to leave on the default setting Twenty Twenty. Twenty Twenty is the new WordPress default theme. It is designed with the flexibility of the block editor at its core. If you want to use it for an organization or a business, you can combine columns, groups, and media to create dynamic layouts that show off your services or products.

The second thing that I worked on was the site identity. I was able to add a logo, site title, site icon. A site icon, also known as a favicon, is a unique icon for your website. It is shown on your WordPress.com dashboard, in your site visitors’ browser tab, and as a bookmark and home screen app icon when saved to a browser or phone.

The third thing that I worked on was the background image. Your background image is capable of representing your whole website in terms of sending a message, telling about your business, products or services and much more. So, a visitor can precisely know all about your site by looking at the big picture.

  Step 1: Customize my Theme.

. add twenty twenty theme

 Step 2 : customize my site identity.

. add a logo

.add a tagline

.add a site icon

 Step 3: customize my background image.

. add a background

Step 4: Add Widgets.

.add a widgets image.

With the power of wordpress I was able to customize my website to my liking and wordpress allow site admins to tweak a theme’s settings, color scheme or widgets, and see a preview of those changes in real time and also wordpress make it easy to customize the theme, logo, tagline, site icon, and background. The theme customization page allows you to modify your site’s title and tagline and see how it will look on your actual site immediately.